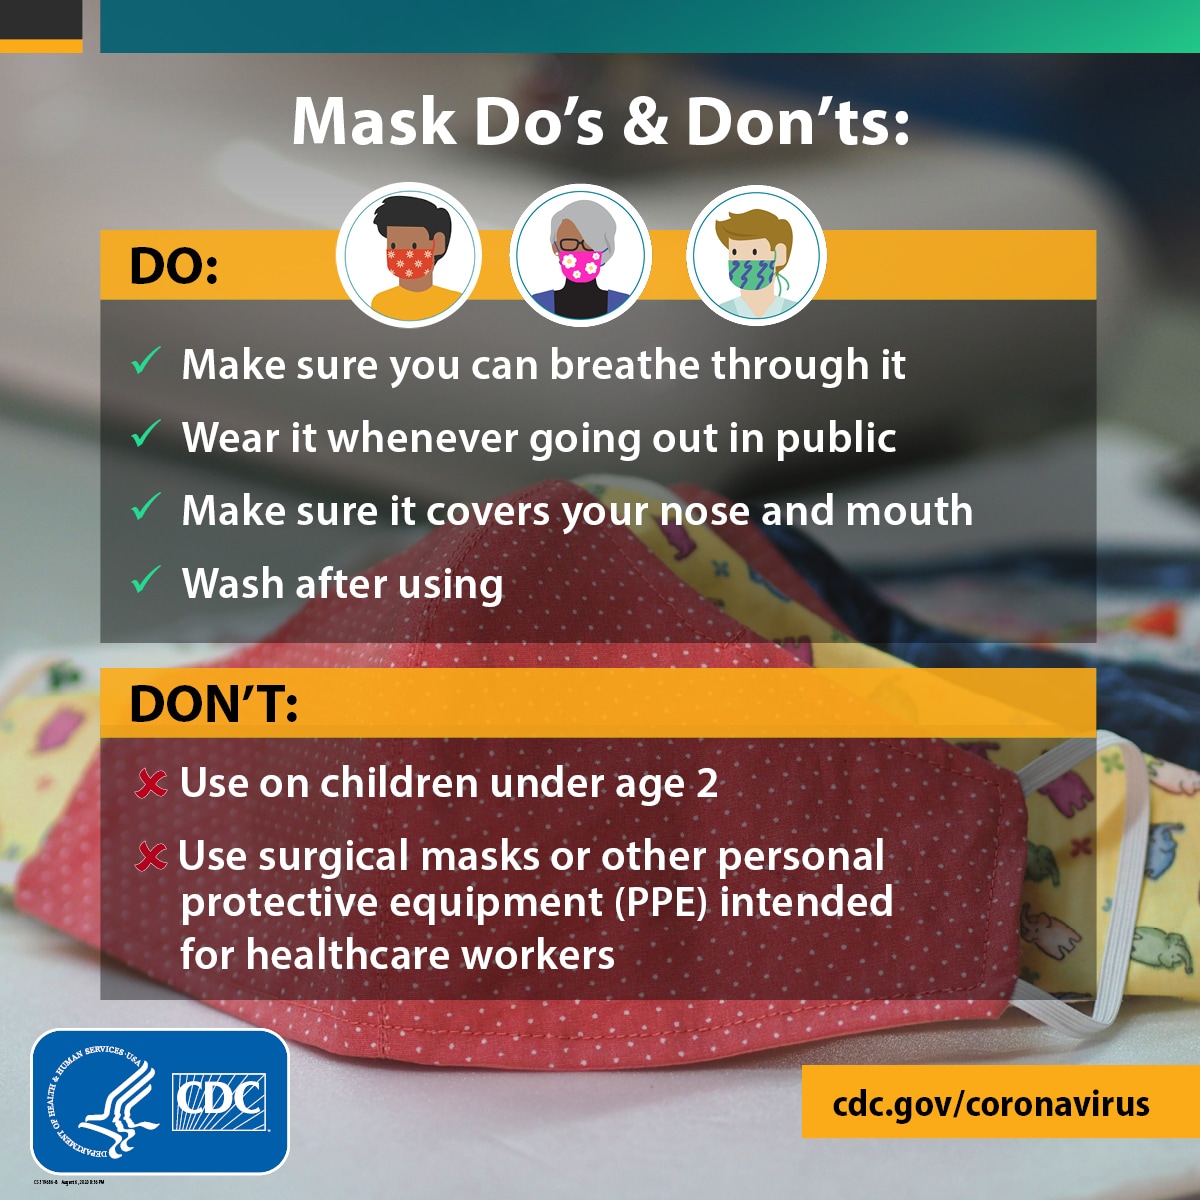
How to make a CDC-Approved Cloth Mask By: Olivia Ekeland
Here’s a quick little step-by-step tutorial for making a CDC (Centers for Disease Control) approved T-shirt mask (this is also a no sewing-required mask) because, like, why not
Materials
- 2 hair ties or rubber bands
- Tightly-knit cotton material (like a scarf or t-shirt)
How to Make it
- Horizontally cut 7 to 8 inches off the bottom of a T-shirt, so that leaves you with a piece of material
- Lay that piece flat and turn it 90 degrees so the bottom hem of the shirt (normally double stitched) is actually facing left or right
- Fold the material from the bottom to middle, and then from the top to middle. Then repeat this step again.
- Loop hair tie/rubber band around both ends (left and right), leaving a few inches of material (so the side looks kind of like a candy wrapper)
- Then fold the extra fabric over the hair tie/rubber band, making sure that each side meets in the middle, which causes an extra layer to your mask
- Put the hair tie/rubber band over your ears. Adjust the material so that it feels comfortable yet tight on your face. The hair tie/rubber band and cloth should stay in place due to the pressure on your face.
I also attached a youtube video:


Good info to know.
ReplyDeleteVery good tutorial. If I have to, I may use this when I need a face-mask.
ReplyDelete